Published
- 7 min read
How to record HTML Canvas as a video using fabric.js

This is the blog post about how you can capture the live stream in the HTML canvas and save this stream as a video MP4 file. I’m building a simple canvas app in React.js. I will also use a useful library to work with canvas called Fabric.js. We can draw shapes, add images and other objects to a canvas scene, and apply animations all with this library. We are installing this library because we need something moving inside the canvas scene So we can capture the stream and then export it as a video file.
Setting up the project
Let’s quickly create an empty project by running npx create-react-app my-app && npm i fabricjs --save. This is the only library we need to install in the project. For the rest of the functionality such as capture stream and download, we’ll use javascript APIs.
Setting up the canvas scene with fabric.js
Now just follow these steps to create a canvas scene with a circle animating to and fro.
Create Canvas component
create a new component file with all canvas functionalities under ./components/canvas.jsx
and add the following code.
       import React from 'react'

const Canvas = () => {
	return <canvas id='myCanvas'></canvas>
}

export default Canvas
Setting up canvas with fabric.js
We need to import useEffect, useRef, and fabric object from the library for setting the canvas.
       import React, { useEffect, useRef } from 'react'
import { fabric } from 'fabric'

const Canvas = () => {
	const canvasRef = useRef()

	useEffect(() => {
		const canvas = new fabric.Canvas(canvasRef.current, {
			width: 800,
			height: 500,
			backgroundColor: '#dedede'
		})
		const circle = new fabric.Circle({ radius: 50, fill: 'teal', top: 100 })
		canvas.add(circle)
	}, [])
	return <canvas id='myCanvas'></canvas>
}

export default Canvas
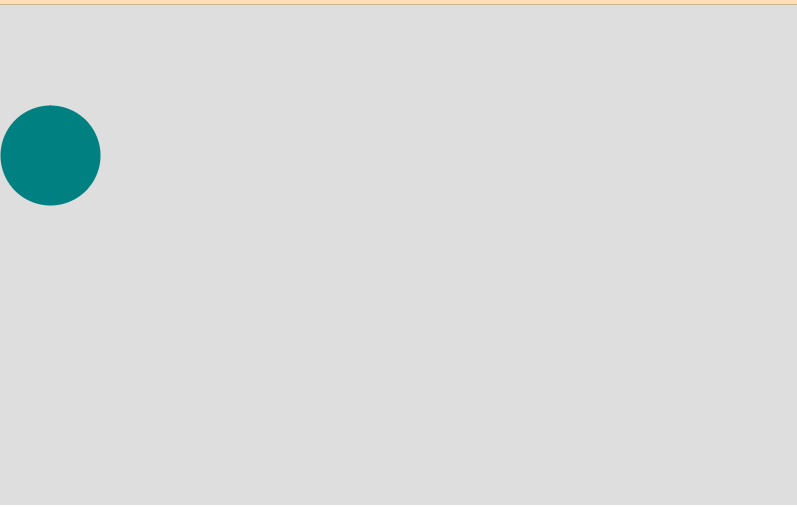
This will create the following canvas view

Now if we apply the recording functionality straight on this canvas. It will work but the video will only be static. It will be good if we apply some animation to the circle, this will capture the animation as a video.
Adding animation on the circle
Fabricjs library provides a very simple function for animating objects (a circle in our case), This function will animate the object from its current position to the left side by adding 500 pixels.
       circle.animate('left', '+=500', {
	onChange: canvas.renderAll.bind(canvas),
	onComplete: () => {}
})
Implementing infinite animation
Let’s add a bit more functionality to animate to circle continuously left and right. This can be done by a recursive function to recall itself on completion of the previous iteration with a condition of providing the direction either left or right. The function will look like
       const animate = (canvas, circle, isLeftToRight = true) => {
	circle.animate('left', isLeftToRight ? '+=500' : '-=500', {
		onChange: canvas.renderAll.bind(canvas),
		onComplete: () => {
			animate(canvas, circle, !isLeftToRight)
		}
	})
}
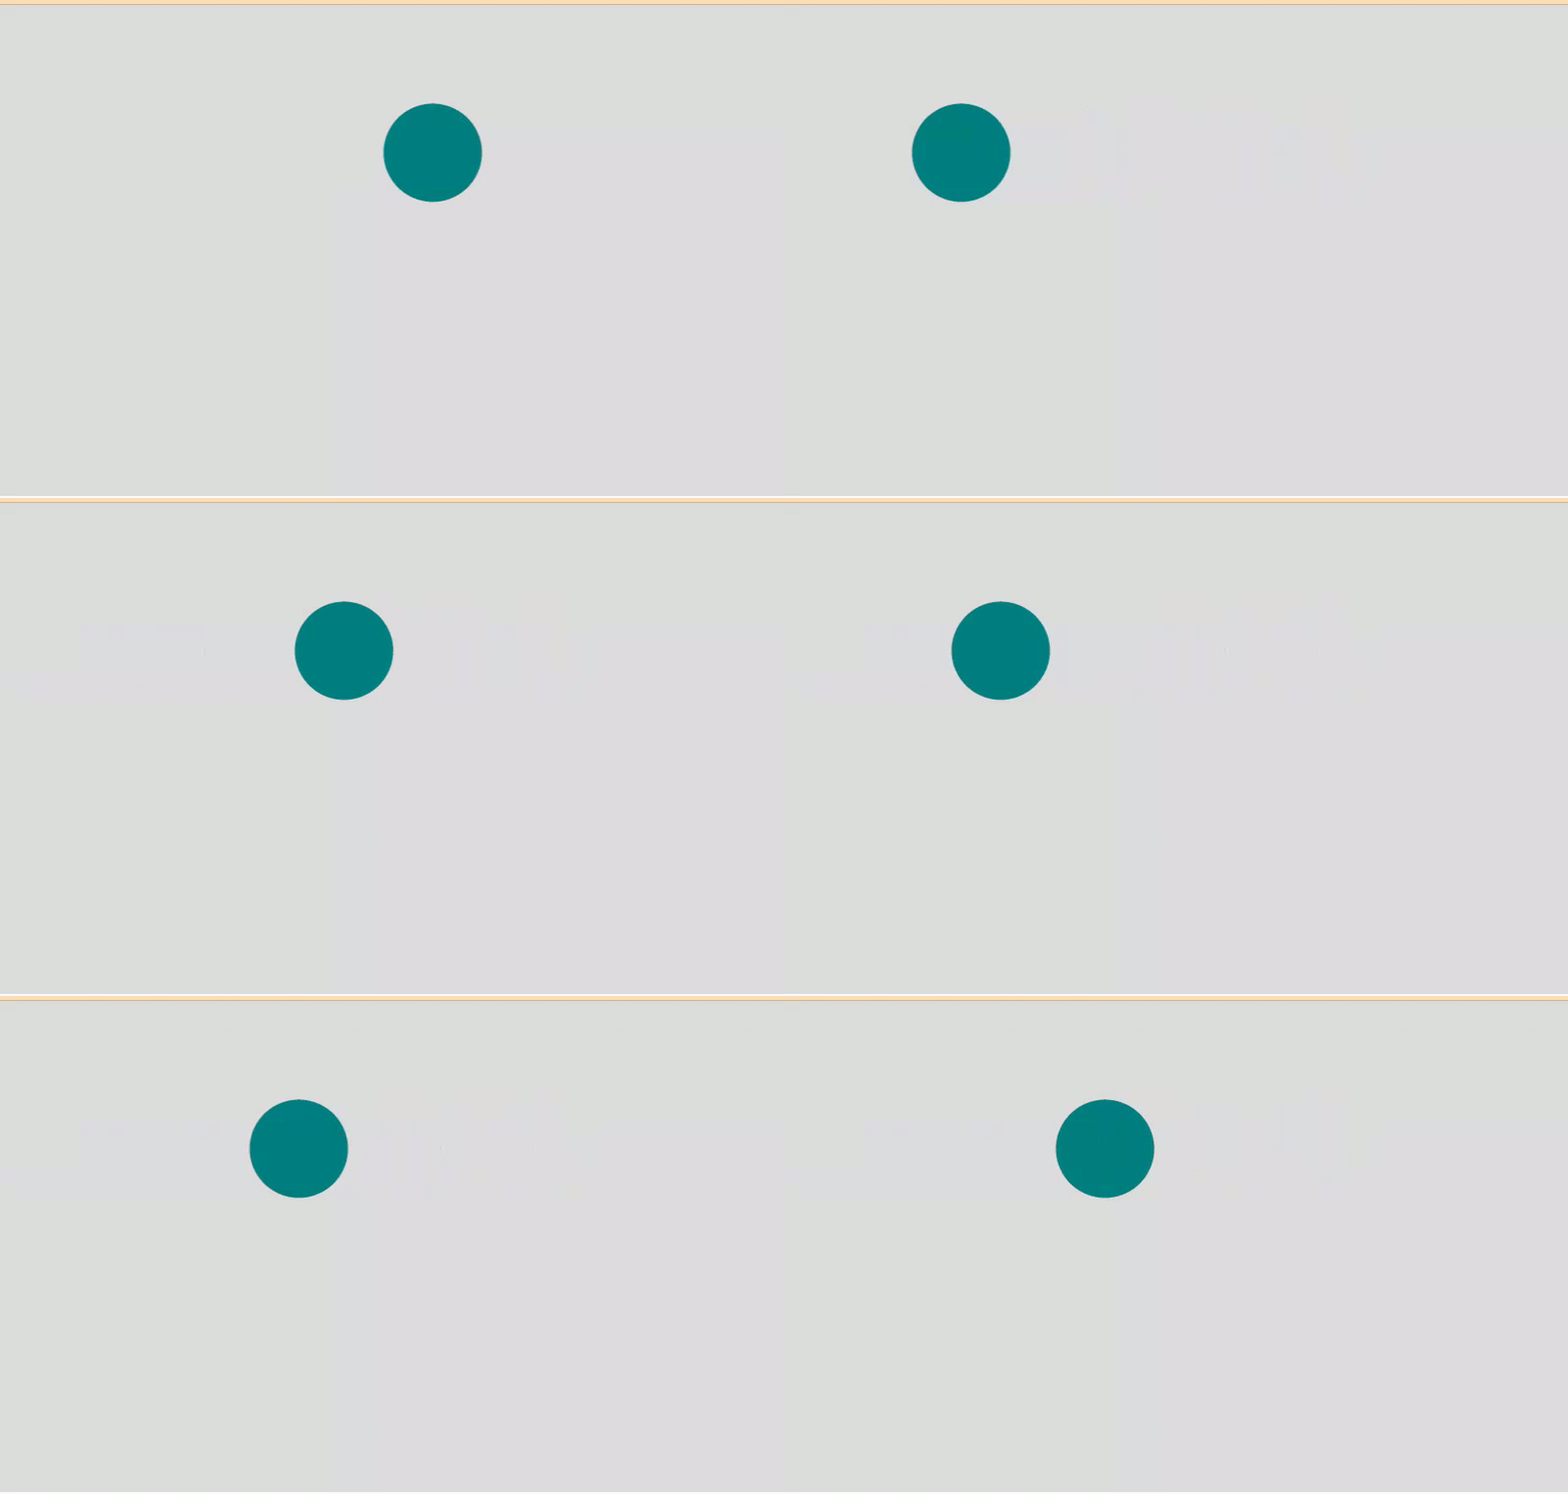
This will be the result after calling this function in your useEffect hook right after we add the circle to the canvas don’t forget to pass the parameters of both canvas and circle in the animate function.

We have done with our basic canvas scene with animation, Now let’s write the code for recording our canvas stream
Implement Recording functionality
I will break it down into steps and try to explain each step. I will use HTMLMediaElement.captureStream() API. This will capture all sources such as audio and/or video within the given HTML element. You can find out more information about this API from the documentation link given above. This API will capture the stream of data which will be stored in an array of chunks, each chunk will be received in each unit of data change in the element or according to the time. Now This stream will be passed through another API called Media Recorder to record these chunks of data into the media format video/mp4 etc. To implement this programmatically I have divided this process into the following steps.
- Register the capture stream by passing the HTML element id
- Register media recorder instance by passing the stream
- Register an event to start pushing each chunk of stream in an array
- Register function to stop the receiving media recorder chunks i.e stop recording
- Convert the recordBlobs to a downloadable file and download it
Now, Let’s implement each step programmatically. I will create a new javascript in src/utils/canvas_record.js and write all the functions that I will import in my canvas component such as start recording and stop recording.
Register the capture stream by passing the HTML element id
In the file, I will write down the following function to register a media stream, This captureStream method will start broadcasting a stream which will be passed to the Media Recorder to catch and and forward the next process. I have also defined another function getSupportedMimeTypes which I’ve explained below.
       let mediaRecorder, recordedBlobs

function getSupportedMimeTypes() {
	const possibleTypes = [
		'video/webm;codecs=vp9,opus',
		'video/webm;codecs=vp8,opus',
		'video/webm;codecs=h264,opus',
		'video/mp4;codecs=h264,aac'
	]
	//checks and return only supported types
	return possibleTypes.filter((mimeType) => {
		return MediaRecorder.isTypeSupported(mimeType)
	})
}

export const startRecording = () => {
	recordedBlobs = []
	var mainCanvas = document.querySelector('#myCanvas')
	//capture the stream at 30 frames per second
	var stream = mainCanvas.captureStream(30)
}
The function getSupportedMimeTypes will return a list of only supported mime types by the browser and I will pass one of the returned types in MediaRecorder options which I will declare in the second step Since a single mime type might not be supported in every browser but one of the following 4 types defined in the function will be supported in your browser Chrome, Safari, Microsoft Edge or Mozilla.
Register media recorder instance by passing the stream
I’m passing the above stream along with the supported mime type option to the media recorder instance as I explained above
       let mediaRecorder, recordedBlobs;

function getSupportedMimeTypes(){
      .....
}
export const startRecording = () => {
     .......
    var stream = mainCanvas.captureStream(30)
      var options = {
        mimeType: getSupportedMimeTypes()[0]
    };
    try {
        //Registering MediaRecorder instance that will keep track of all media recording events, such as start, stop etc
        mediaRecorder = new MediaRecorder(stream, options);
    } catch (e) {
        console.error('Exception while creating MediaRecorder:', e);
        return false;
    }
  //Once the media recorder has initialized, it will be able to emit the following events

  //this event will be called when we stop the recording
   mediaRecorder.onstop = (event) => {
        downloadCanvas(recordedBlobs)
    };
    //push each chunk of data in **recordBlobs** array
    mediaRecorder.ondataavailable = handleDataAvailable;
    //Starting media recorder
    mediaRecorder.start();
}
Register an event to start pushing each chunk of stream in an array
This is the function that will be called automatically on each chunk of data available and pushed to recordBlobs array, i.e the function assigned above in the following line mediaRecorder.ondataavailable = handleDataAvailable;
Register function to stop the receiving media recorder chunks i.e stop recording
This function will be called from the react component to stop recording,
       export function stopRecording() {
	try {
		//when this method is called, it will automatically call the onstop even defined above in the  event emits
		mediaRecorder.stop()
	} catch (error) {
		console.error('Error while Stop recorder : ' + error)
		return false
	}
	return true
}
Convert the recordBlobs to a downloadable file and download it
This is the function that converts the record blob array into the blob and downloads the file in mp4 format. Keep in mind that this function is called from the body of the emitted event mediaRecorder.onstop
       function downloadCanvas(recordedBlobs) {
	var blob = new Blob(recordedBlobs, {
		type: 'video/mp4'
	})

	var url = URL.createObjectURL(blob)
	var a = document.createElement('a')
	document.body.appendChild(a)
	a.style = 'display: none'
	a.href = url
	a.download = 'canvas_recording.mp4'
	a.click()
	window.URL.revokeObjectURL(url)
}
Calling events from the react component
This is the final and simple step, we have done everything. Now we just need to call the two events from the button component for start and stop recording, So We’ll import startRecording, stopRecording and call inside the button component
       import React, { useState } from 'react'
import { stopRecording, startRecording } from './util/recording_utils'

const Canvas = () => {
	const [isRecording, setRecording] = useState(false)
	return (
		<div>
			<canvas id='myCanvas'></canvas>
			<button
				onClick={() => {
					if (isRecording) {
						startRecording()
					} else {
						saveRecording()
					}
					setRecording(!isRecording)
				}}
			>
				{isRecording ? 'Stop Recording' : 'Start Recording'}
			</button>
		</div>
	)
}

export default Canvas

