Published
- 8 min read
How to create a daily journal app using astro and markdown

Overview
In this article, We will create an astro project to save your daily journal as markdown files. We will create two pages, a home page where you will see all your journals and a create new journal page to enter new journals. We will use WYSIWYG editor to save the journal and save it as a markdown using Astro API module.
Create Astro Project
We will initialize by creating a new astro project by quickly running this command yarn create astro daily-journal. Ma sure you already have installed node.js and npm or yarn as a package manager. After creating a new project.
Create content schema
Let’s describe the schema of our journal in our src/content/config.ts file
       import { defineCollection, z } from 'astro:content'

const journalCollection = defineCollection({
	type: 'content',
	schema: z.object({
		title: z.string(),
		pubDate: z.date(),
		tags: z.array(z.string())
	})
})

export const collections = {
	journals: journalCollection
}
Journals Home screen
First, Let’s add a markdown file manually to display the journal on our home screen. Create a new markdown file at src/content/journals/first-journal.md and add the following content
       ---
title: First Journal
pubDate: 2024-11-14
tags:
  - MyDay
---

## Introduction

This is my first journal

- Entry 1
- Entry 2
Now open src/pages/index.astro file
       <html lang="en">
	<head>
		<meta charset="utf-8" />
		<link rel="icon" type="image/svg+xml" href="/favicon.svg" />
		<meta name="viewport" content="width=device-width" />
		<meta name="generator" content="{Astro.generator}" />
		<title>Astro</title>
	</head>

	<body class="">
		<div class="flex justify-between my-5 px-5">
			<h1 class="font-bold py-5 text-2xl">My Journals</h1>
			<a
				href="#"
				class="flex justify-center items-center text-white px-10 py-0 bg-blue-500 rounded-lg hover:bg-blue-400"
				>Create Journal</a
			>
		</div>
		<div></div>
	</body>
</html>
Let’s quickly create a src/layouts/main-layout.astro file and put put all the html meta data in this layout file.
       <html lang="en">
	<head>
		<meta charset="utf-8" />
		<link rel="icon" type="image/svg+xml" href="/favicon.svg" />
		<meta name="viewport" content="width=device-width" />
		<meta name="generator" content="{Astro.generator}" />
		<title>Astro</title>
	</head>
	<body>
		<slot />
	</body>
</html>
Now, our index file looks cleaner
       --- import MainLayout from "../loyouts/main-layout.astro" ---
<MainLayout>
	<div class="flex justify-between my-5 px-5">
		<h1 class="font-bold py-5 text-2xl">My Journals</h1>
		<a
			href="#"
			class="flex justify-center items-center text-white px-10 py-0 bg-blue-500 rounded-lg hover:bg-blue-400"
			>Create Journal</a
		>
	</div>
	<div></div>
</MainLayout>
Add the following code to load journals inside the content directory
       ---
import { getCollection } from "astro:content";
import JournalCard from "../components/JournalCard.astro";
const allJournals = (await getCollection('journals')).sort(
(a, b) => b.data.pubDate.valueOf() - a.data.pubDate.valueOf()
);
---

.... { allJournals.map(journal =>
<JournalCard title="{journal.data.title}" pubDate="{journal.data.pubDate}" />) } ....
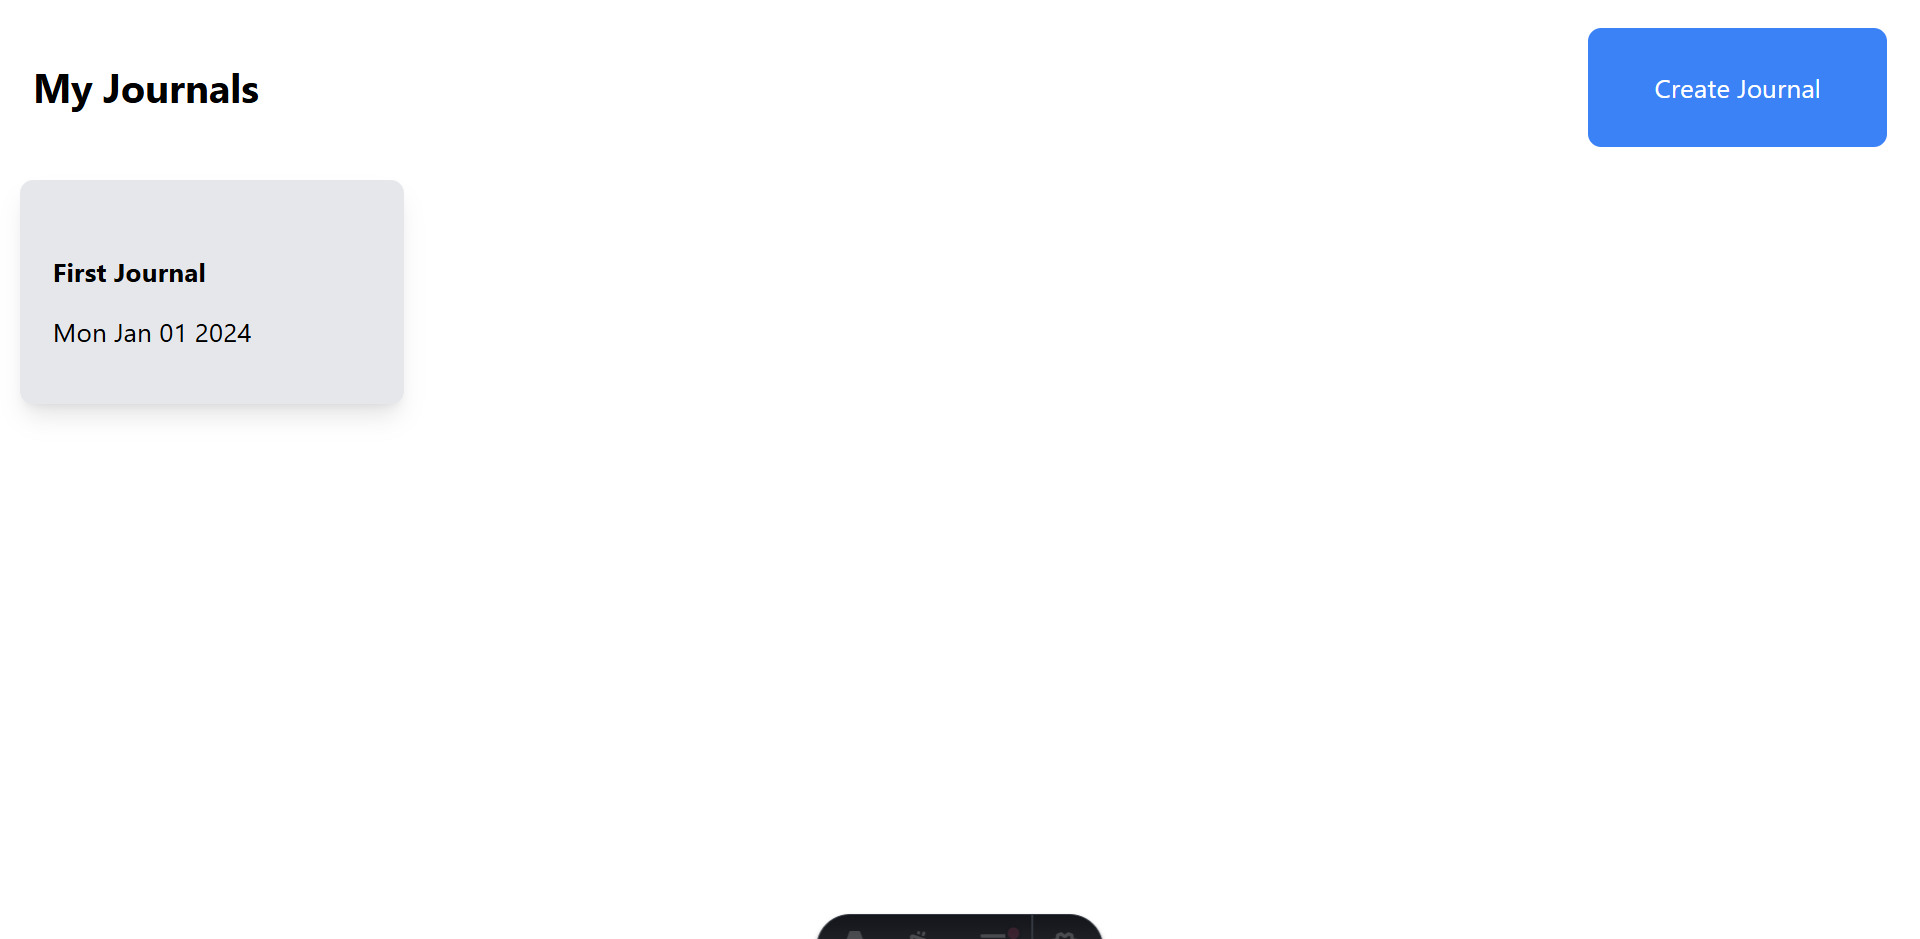
The final UI will look like this

Journal View Screen
We need a page view page to see each journal in a separate path. Create a new page under src/page/journal/[journal].astro. Here [journal].astro is the dynamic route for each journal we create inside the content directory. For example, for first-journal.md file. The page route for this journal will be localhost:4321/journals/first-journal. Since this is our dynamic route that will create each page for each markdown file inside content directory. We need to export a function from this file named getStaticPaths. This function will return an array of objects, and Astro will take this array of objects and create a static page for each object. This means that we need to collect all the files inside the content directory and create an array of slugs for all the pages that will be returned from the function. So, from src/pages/journal/[journal].astro the file. We will export this function.
       ---
import { getCollection } from 'astro:content';

export async function getStaticPaths() {
  const paramsData = Array.from((await getCollection("journals")).map(j => ({
    params: {
      journal: j.slug
    }
  })));
  return paramsData;
}
const { journal } = Astro.params
---
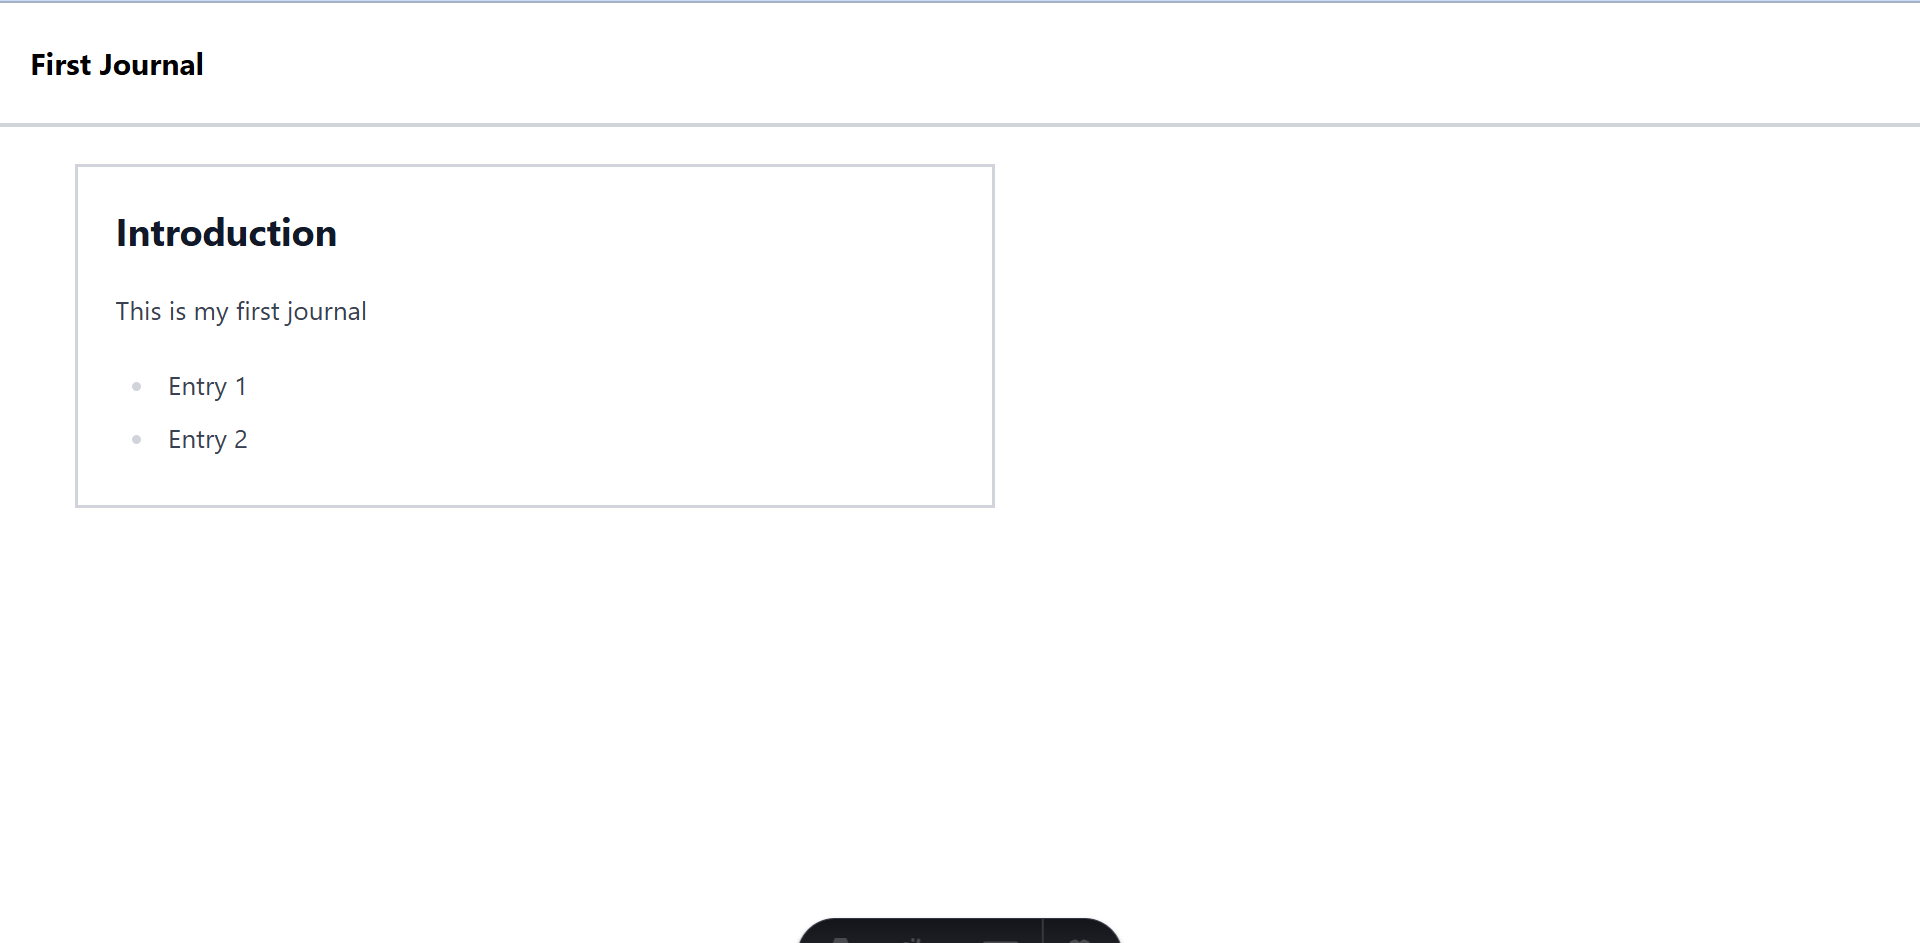
Now, let’s render the content of the markdown file. First, we need to get the specific markdown file, we will use a built-in function getEntry to read the markdown by passing the collection name and file name as parameters.
       ---
import { getCollection } from 'astro:content';
import { getEntry } from 'astro:content';
export async function getStaticPaths() {
....
}
const { journal } = Astro.params


const { render, data } = await getEntry('journals', journal);

const { Content } = await render();
---

<div>
	<h1 class="pt-5 px-4 font-bold">{data.title }</h1>
	<div class="w-full h-0.5 bg-gray-300 my-5" />
	<div class="border-2 border-gray-300 my-5 mx-10 p-5 prose prose-sm">
		<content />
	</div>
</div>
getEntry function will return us the render function which will further return us a Content component that we can use inside our html to render the content. We have also used @tailwindcss/typography plugin here by purring prose prose-sm classes around the <Content /> component. You can quickly add this by running yarn add @tailwindcss/typography —dev
and add pass require(‘@tailwindcss/typography’), in the plugins array in tailwind.config.mjs file.

Creating New journals
Let’s dive into the second part of this article which is to create new journals. We will create a new page under src/pages/new.astro. We’ll display an input area where the user can enter the journal in markdown format. Also, We’ll create a markdown preview section that will show the live preview of the markdown. I’m implementing all the markdown input and markdown preview logic in a React.js component since it’s easy to manage the UI state in React. You can use vanilla javascript. You can add React.js support to your astro project by running yarn astro add react. After installing, Create a new React.js component under src/components/Editor.jsx. We will use the following code
       import { useEffect, useState } from 'react'
const MarkdownComponent = () => {
	const [title, setTitle] = useState('untitled')
	const [content, setContent] = useState(``)
	const [html, setHtml] = useState('')

	const handleSave = () => {}
	return (
		<div>
			<div className='flex w-full justify-between px-10 py-5 '>
				<div>
					Name:{' '}
					<input
						className='focus:outline-none ring-2 ring-gray-200 rounded-md focus:ring-2 focus:ring-blue-500 px-3 py-1'
						value={title}
						onChange={(e) => setTitle(e.target.value)}
					/>
				</div>
			</div>
			<section class='flex flex-col md:flex-row border border-gray-300 p-6 md:p-8 bg-gray-50 rounded-lg'>
				<div className='w-full md:w-1/2 p-4 border border-gray-300 rounded-lg md:mr-2'>
					<label for='textInput' className='block text-lg font-semibold text-gray-700 mb-2'>
						Enter Markdown
					</label>
					<textarea
						value={content}
						onChange={(e) => setContent(e.target.value)}
						rows='10'
						class='w-full p-3 border border-gray-300 rounded-lg focus:outline-none focus:ring-2 focus:ring-blue-500'
						placeholder='Type your text here...'
					></textarea>
				</div>
				<div className='w-full md:w-1/2 p-4 border border-gray-300 rounded-lg md:ml-2'>
					<h2 className='text-lg font-semibold text-gray-700 mb-2'>Preview</h2>
					<div
						dangerouslySetInnerHTML={{ __html: html }}
						class='prose prose-sm p-3 bg-white border border-gray-200 rounded-lg h-72 overflow-y-auto'
					></div>
				</div>
			</section>

			<div className='w-full flex justify-end px-14 py-5'>
				<button
					onClick={handleSave}
					className='px-10 py-3 bg-blue-500 hover:bg-blue-400 rounded-md text-white'
				>
					Save
				</button>
			</div>
		</div>
	)
}

export default MarkdownComponent
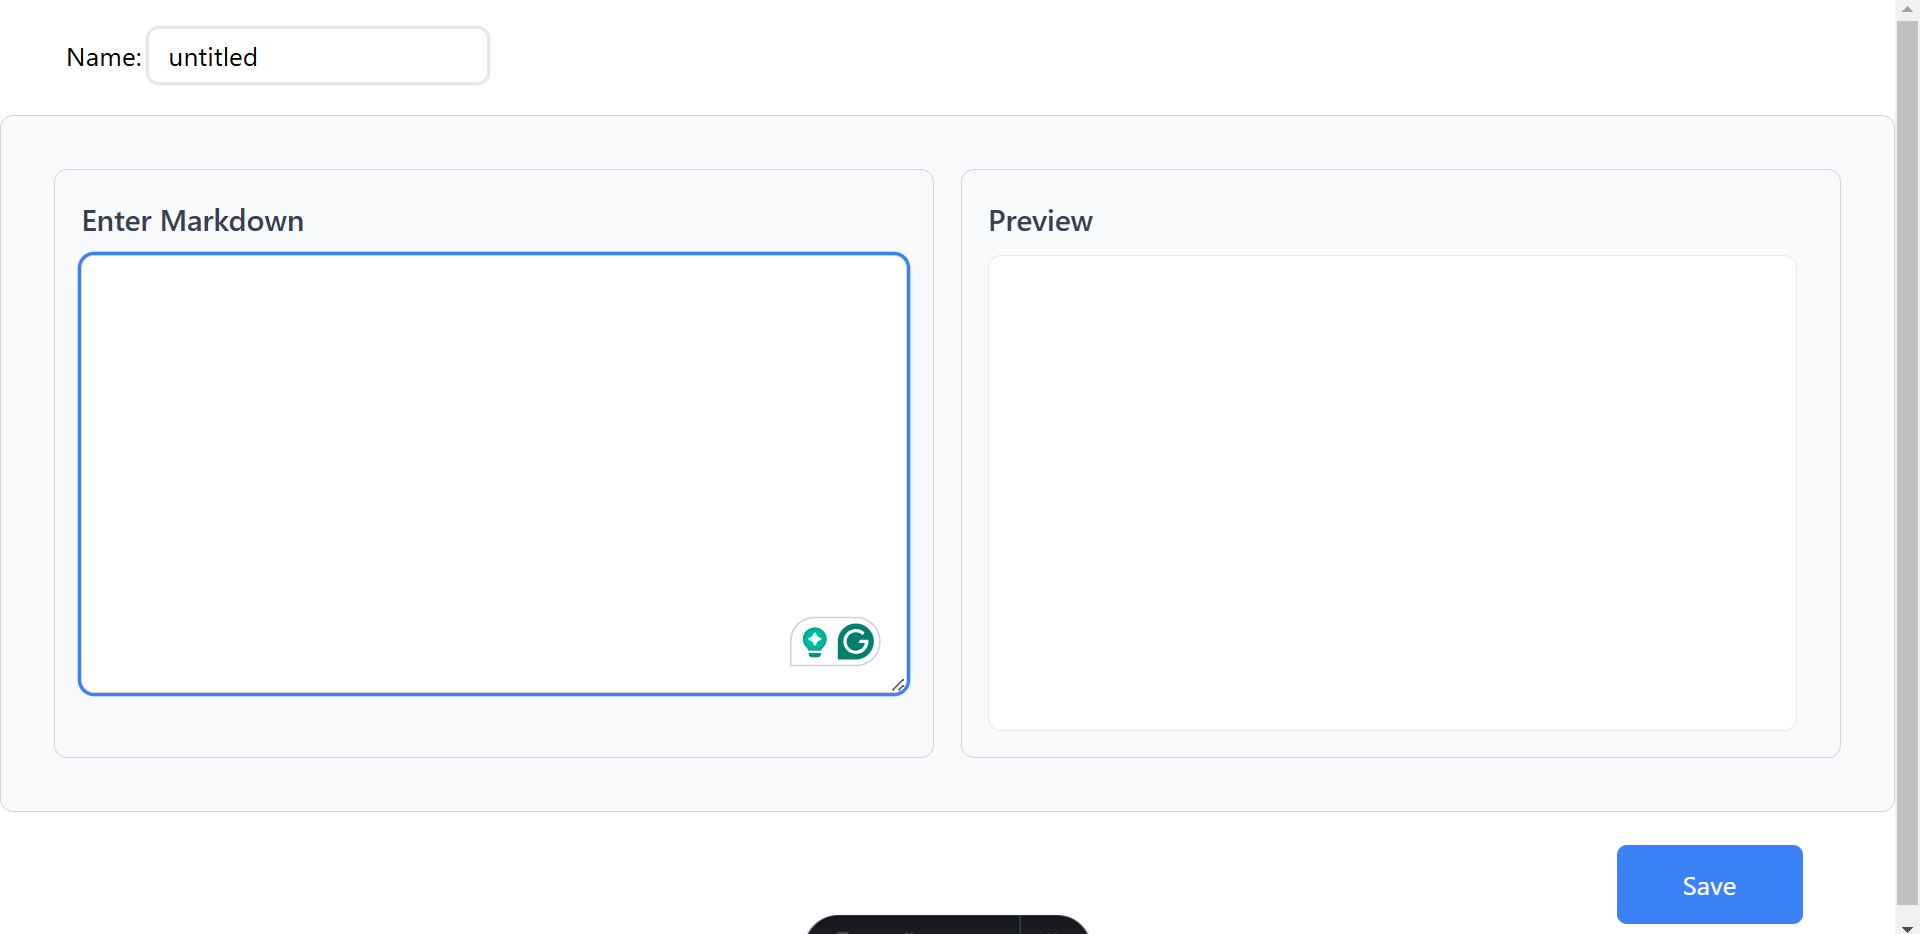
The UI will look like this

Now, we can enter the journal content as a markdown in the left side and see the preview to the right side. To see the preview of the markdown, we need to convert the markdown string into HTML and put it inside the DOM using dangerouslySetInnerHTML. To convert the markdown into html, we need to add a few more libraries in out project. We’ll use remarkjs to convert the markdown into HTML. Install the libraries by running yarn add rehype-sanitize rehype-stringify remark-parse remark-rehype unified. You might be thinking about why we’re installing so many libraries to convert the markdown into HTML. These are minimum libraries that contain some helper functions to convert the content. See the example here https://github.com/remarkjs/remark?tab=readme-ov-file#examples.
Now, After installing the libraries, Let’s create a helper function that will accept markdown as a string an return the converted html. Create a new file src/utils/markdown.js. Add the following code
       import rehypeStringify from 'rehype-stringify'
import remarkParse from 'remark-parse'
import remarkRehype from 'remark-rehype'
import { unified } from 'unified'

export const markdownToHtml = async (content = '# Hello, *Mercury*!') => {
	const html = await unified()
		.use(remarkParse)
		.use(remarkRehype)
		.use(rehypeStringify)
		.process(content)
	return html
}
Let’s now call this function inside our react component. can use useEffect hook, to call markdownToHtml. Add the following code in your React.js component
       import { markdownToHtml } from "../utils/markdown"
...
const convert = async () => {
  const data = await markdownToHtml(content)
  setHtml(data)
}

useEffect(() => {
  convert()
}, [content])

...
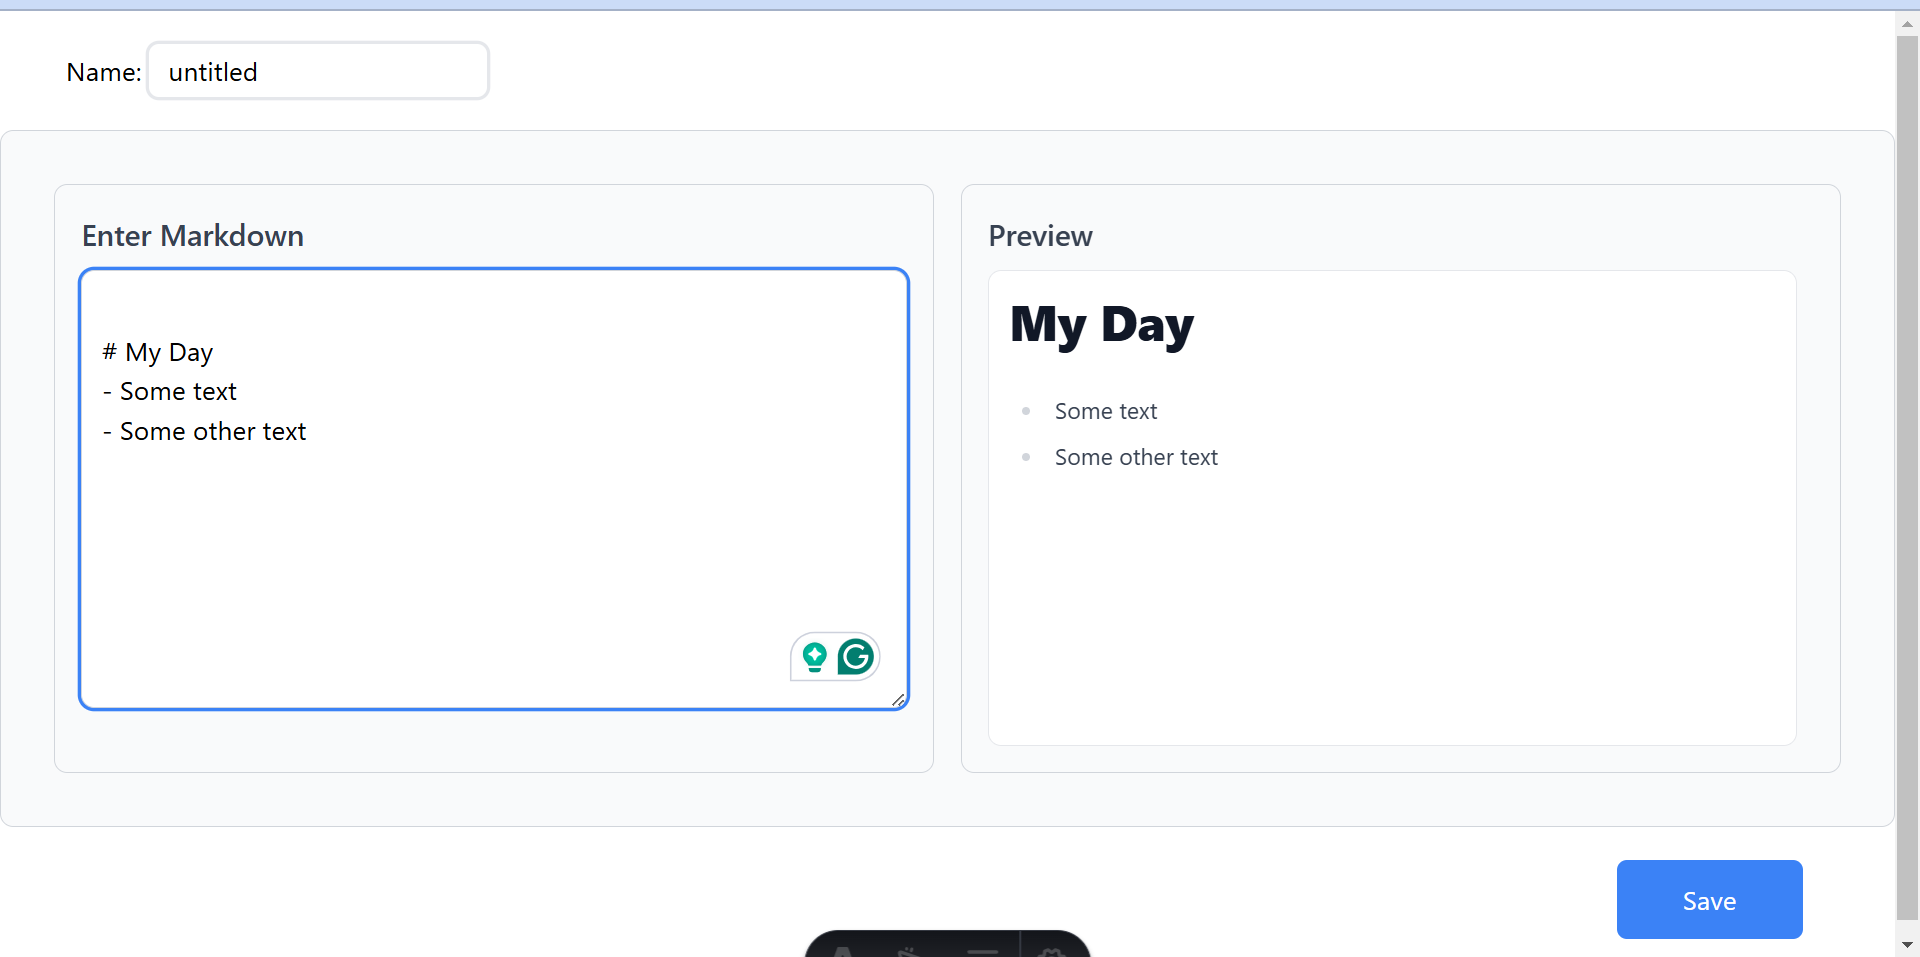
The UI will look like this

Define API route
We need to define an API endpoint that will accept the new journal request with the title and content from the frontend. First, we need to add output : ‘hybrid’,our astro.config.mjssince we’re now using SSR mode for our api endpoint. Create a new file at src/pages/api/postJournal.js and add the following code.
       import fs from 'fs'
import path from 'path'
export const prerender = false
export const POST = async ({ request }) => {
	const headers = request.headers.get('Content-Type')
	console.log({ headers })
	if (request.headers.get('Content-Type') === 'application/json') {
		const { content, title } = await request.json()
		const markdownContent = `---
title: "${title}"
date: ${new Date().toISOString()}
---
${content}
`
		const filePath = path.join(
			process.cwd(),
			'src',
			'content',
			'journals',
			`${title.split(' ').join('-')}.md`
		)
		try {
			fs.writeFileSync(filePath, markdownContent, 'utf8')
			return new Response(JSON.stringify({ status: 'success' }), { status: 200 })
		} catch (error) {
			console.error(error)
			return new Response(JSON.stringify({ status: 'error', message: error.message }), {
				status: 500
			})
		}
	} else {
		return new Response('Invalid request')
	}
}
Finally call the request from the React component by adding the following code in handleSave function. Got to src/components/Editor.js and this code
       ...


const handleSave = async () => {
  const response = await fetch('/api/postJournal', {
    method: 'POST',
    headers: {
      'Content-Type': 'application/json',
    },
    body: JSON.stringify({ content, title }),
  });
  if (!response.ok) {
    console.error('Failed to save journal');
  }
}
...
You have created a basic journal application using Asro and Markdown. You can get the source code of this project on Github


