Published
- 6 min read
How to connect WooCommerce store with flutter application using rest api

Overview
In this, We will set up our WooCommerce store with some mock products. Then we will create a small flutter application to list our WooCommerce products using rest api endpoints. We will also implement the cart functionalities in our flutter app.
Installation
Using Docker
First, We need to install WordPress in our local environment. We can download the WordPress source from https://wordpress.org/download/ and run it in our local environment but we will use docker to run WordPress without the hassle of managing environments like PHP, and MySQL for running WordPress.
We will install WordPress using docker and docker-compose file. Make sure you have installed docker and docker-compose in your environment or you can read this guide https://developer.wordpress.org/advanced-administration/before-install/howto-install/ if you prefer your own method.
- Pull the WordPress image using docker pull WordPress
- We also need another container for running our MySQL database
- I will be using MySQL 8, docker pull mysql:8
The easiest way to build and sync both MySQL and WordPress containers is by using the docker-compose file. Create a docker-compose.yml file in the root of your project with the below code and run docker-compose up -d
       version: '3.1'

services:
  wordpress:
    image: wordpress
    restart: always
    ports:
      - '8080:80'
    environment:
      WORDPRESS_DB_HOST: db
      WORDPRESS_DB_USER: woouser
      WORDPRESS_DB_PASSWORD: woopassword
      WORDPRESS_DB_NAME: woodb
    volumes:
      - wordpress:/var/www/html
    networks:
      - wordpress-network

  db:
    image: mysql:8.0
    restart: always
    environment:
      MYSQL_DATABASE: woodb
      MYSQL_USER: woouser
      MYSQL_PASSWORD: woopassword
      MYSQL_RANDOM_ROOT_PASSWORD: '1'
    volumes:
      - db:/var/lib/mysql
    networks:
      - wordpress-network

volumes:
  wordpress:
  db:

networks:
  wordpress-network:
    driver: bridge
Running WordPress project
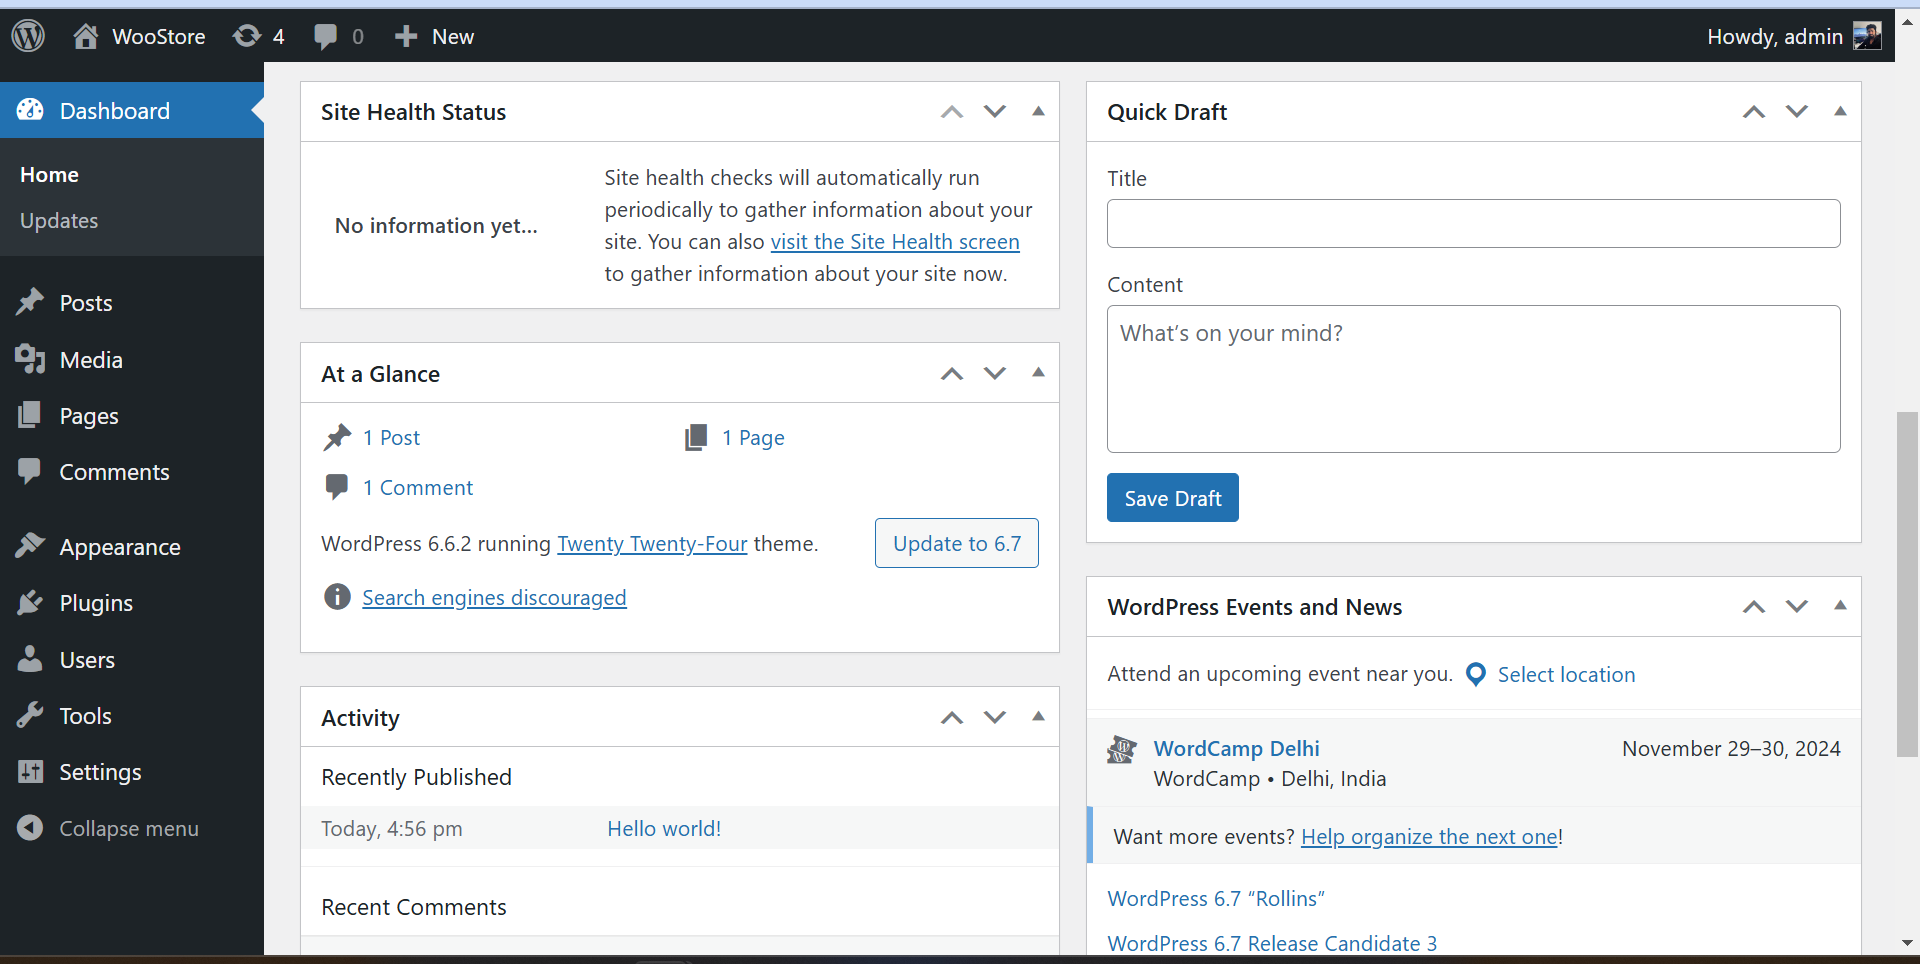
Docker compose will pull all the required images and run the WordPress container on your localhost. Go to localhost:8080 and set the initial project. It will ask you to set the project properties such as site name, username, admin, etc. After setting up and logging in as admin, you will see the project admin panel like this

Install WooCommerce
- Go to Plugins > Installed plugins and click on Add New Plugin
- Search for WooCommerce plugin
- Install and Activate WooCommerce plugin
- After activating, WooCommerce will ask you to set up a store. Go and click on Set up My Store
- Set up WooCommerce by selecting the required options for your store.
- Now, it will ask you to customize the store by configuring the store. For this tutorial, We will only add a few details such as customized store, and add a few test products. We will use the default theme Twenty Twenty Three for basic e-commerce store
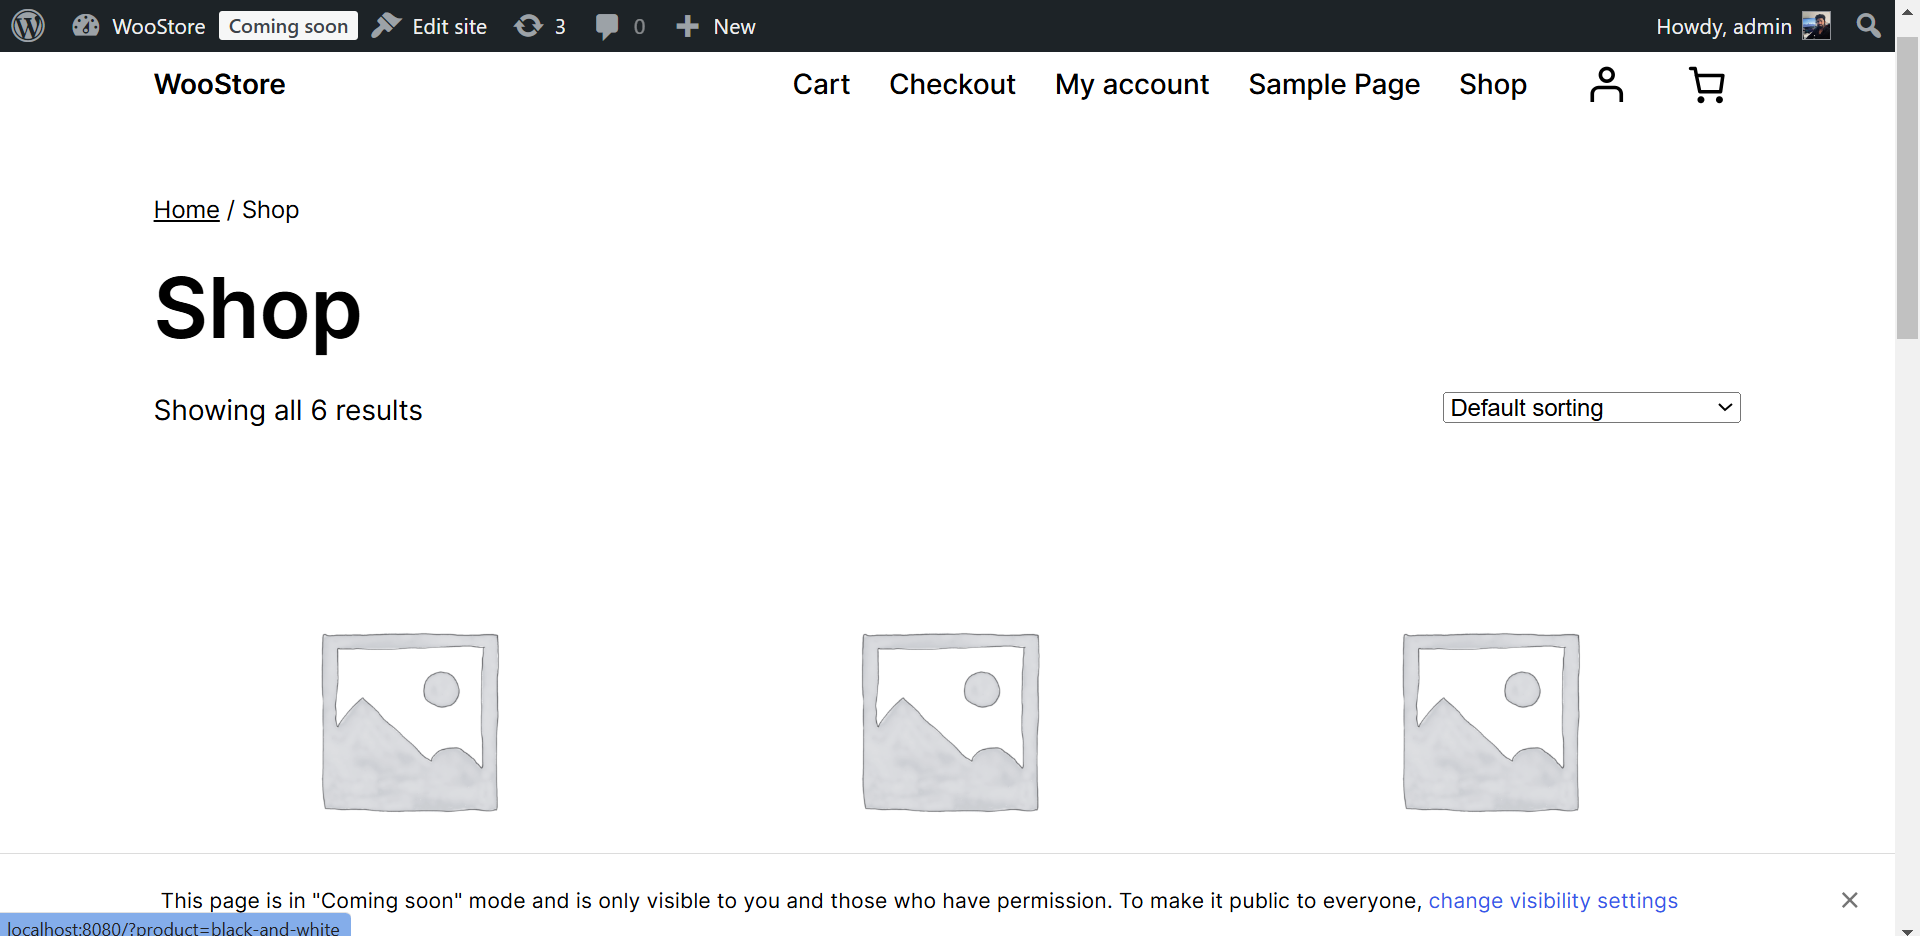
- After setting up Twenty Twenty Three theme, Your site will look like this

Get API Keys
We have successfully configured our store, Now we need an API key to connect our store with our Flutter application where we will list our products on a mobile app.
- Go to WooCommerce > Settings > Advanced Tab
- Click on the REST API tab below the main Settings Tabs
- Click on Generate an API key button
- Enter the key description and select Read/Write permissions
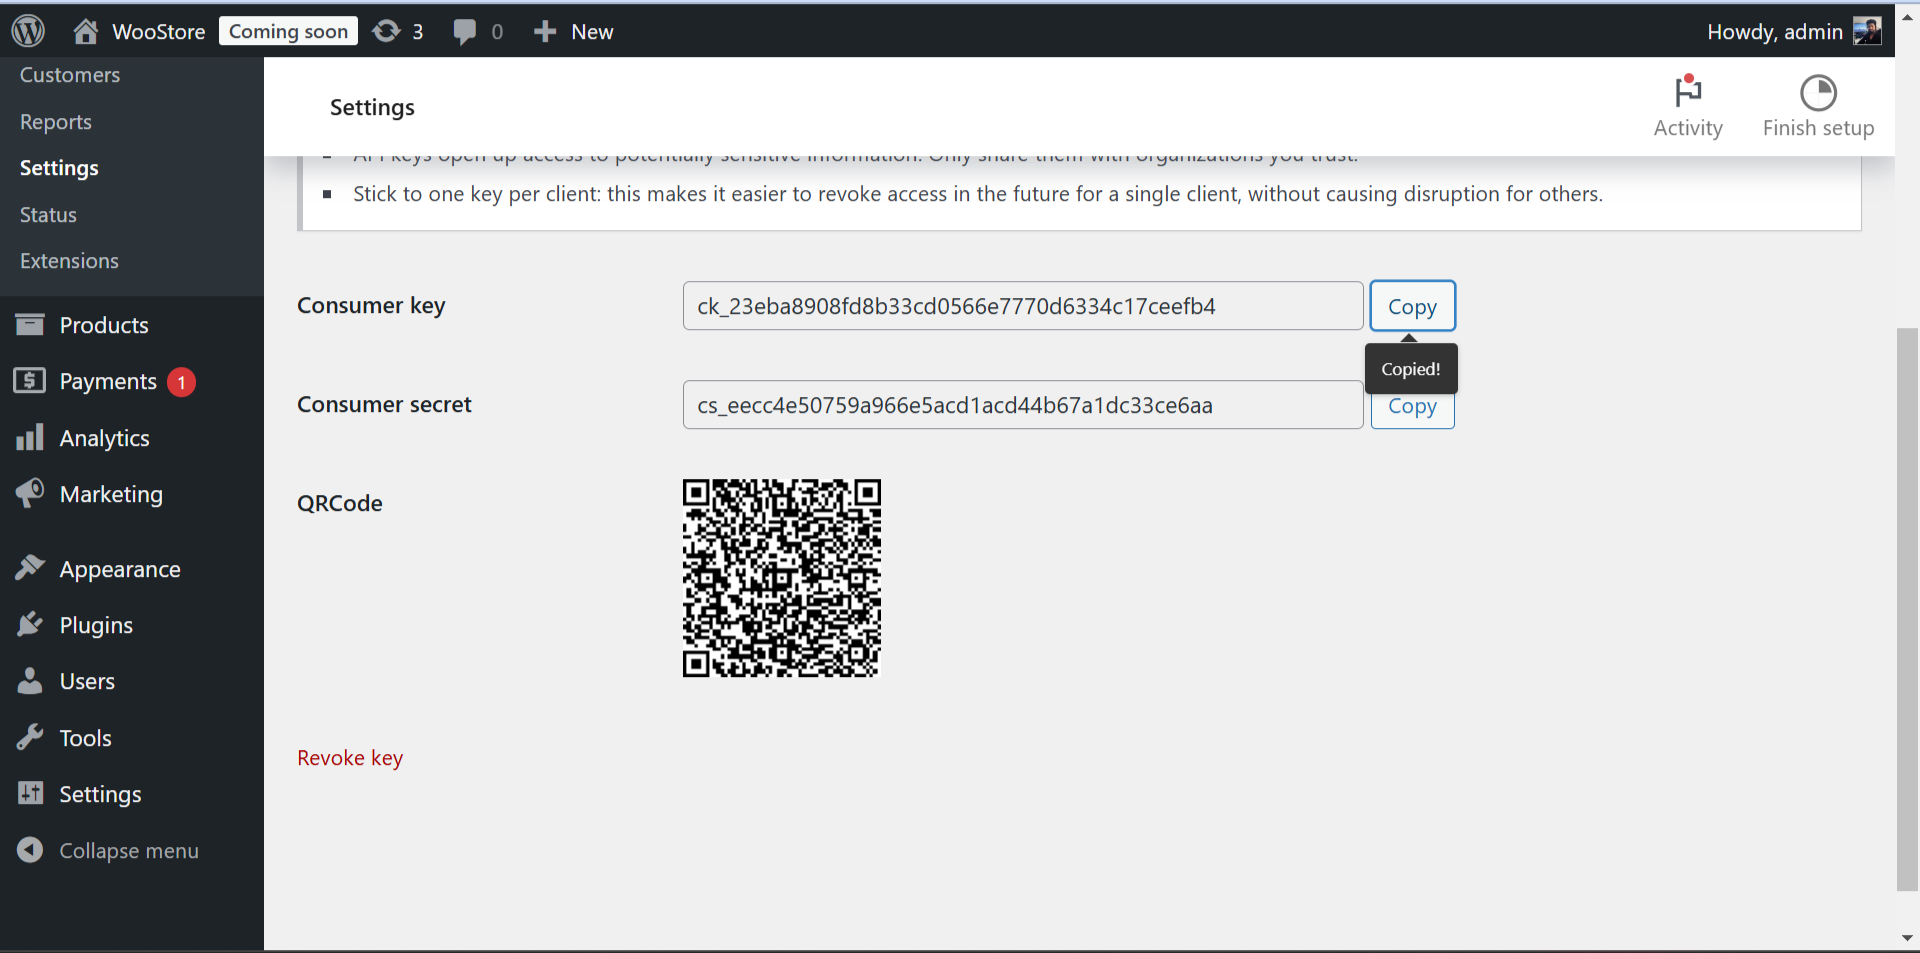
- You will get the Consumer key and Consumer secret values like this

Consumer Key: ck_23eba8908fd8b33cd0566e7770d6334c17ceefb4
Consumer Secret: cs_eecc4e50759a966e5acd1acd44b67a1dc33ce6aa
Testing API
Now we have both the consumer key and consumer secret, we can use these keys to access our store using rest API. First, we need to discover the base URL of our WoocCommerce project where we will be calling HTTP requests. Since our project is on localhost, our base URL will be http://localhost:8080/wp-json/wc/v3/. You may also get a 404 response when you request for wp-json content from your website. You can see this fix by following this guide https://stackoverflow.com/questions/23842235/wordpress-jsonapi-wp-json-was-not-found-on-this-server
Create Flutter application
Now, We have a base URL and API keys to access our store. We can now create a new Flutter application. To create a flutter application, Make sure that you have installed flutter sdk in your environment. Follow this guide https://docs.flutter.dev/get-started/install to install flutter sdk according to your operating system. After installation, you can confirm the flutter sdk by running flutter doctor command. Run flutter create WooStore to create a new flutter project.
Install WooCommerce package
We will install the woocommerce_api package to use WooCommerce in our app. You can also use HTTP or dio package if you want to woocommerce api directly as a rest HTTP client. However, this package offers a lot of functionalities to manage woocommerce with built-in functions.
Run the following command to install this package
flutter pub add woocommerce_api
WooCommerce helper function
We now need to create a utility function to initialize woocommerce_api and create a function that returns the products from our store. Create a new file under the main directory of flutter source code with the name main/woocommerce.dart
       import 'package:woocommerce_api/woocommerce_api.dart';
//API client
WooCommerceAPI wooCommerceAPI = WooCommerceAPI(
  url: "http://localhost:8080",
  consumerKey: "ck_23eba8908fd8b33cd0566e7770d6334c17ceefb4",
  consumerSecret: "cs_eecc4e50759a966e5acd1acd44b67a1dc33ce6aa",
);

//Get all products
Future getProducts() async{
  return await wooCommerceAPI.getAsync('products');
}
Product View
Now we need to create a UI screen where we will display our products. We will use Future Builder to load the products and display in the list using ListView.builder function. Let’s create this step-by-step
Create a new file main/products_view.dart
       import 'package:flutter/material.dart';
import 'package:woostore/woocommerce.dart';

class ProductsView extends StatelessWidget {
  const ProductsView({ super.key });
  @override
  Widget build(BuildContext context) {
    return Scaffold(
      appBar: AppBar(
        title: const Text('WooStore'),
    ),
    body: FutureBuilder(
      future: getProducts(),
      builder : (_, data) {
        return ListView.builder(
          itemCount: s.data.length,
          itemBuilder: (context, index) {
            return ListTile(
              leading: const CircleAvatar(
                  child: Image.network(data.data[index]['images'][0]['src'], headers: const {'Access-Control-Allow-Origin': '*'},),
                ),
                title: Text(data.data[index]['name']),
                  subtitle: Text('Buy Now for \$ ${data.data[index]['price']}'),
            );
      }
    );
  }));
}
}
We are providing this function getProducts() that we have created in main/woocommerce.dart to the future property of the FutureBuilder. This function is returning a dynamic value which is the the json response of all the products in our woocommerce dashboard. In the itemBuilder property, We’ll use ListView.builder method to display all the products in the list.
Finally, We will pass the ProductsView widget in MaterialApp widget like this.
       import 'package:flutter/material.dart';
import 'package:woostore/products_view.dart';

void main() {
  runApp(const MyApp());
}

class MyApp extends StatelessWidget {
  const MyApp({ super.key });
  @override
  Widget build(BuildContext context) {
    return MaterialApp(
      title: 'WooStore',
      theme: ThemeData(
        colorScheme: ColorScheme.fromSeed(seedColor: Colors.deepPurple),
        useMaterial3: true,
      ),
      home: const ProductsView(),
    );
  }
}
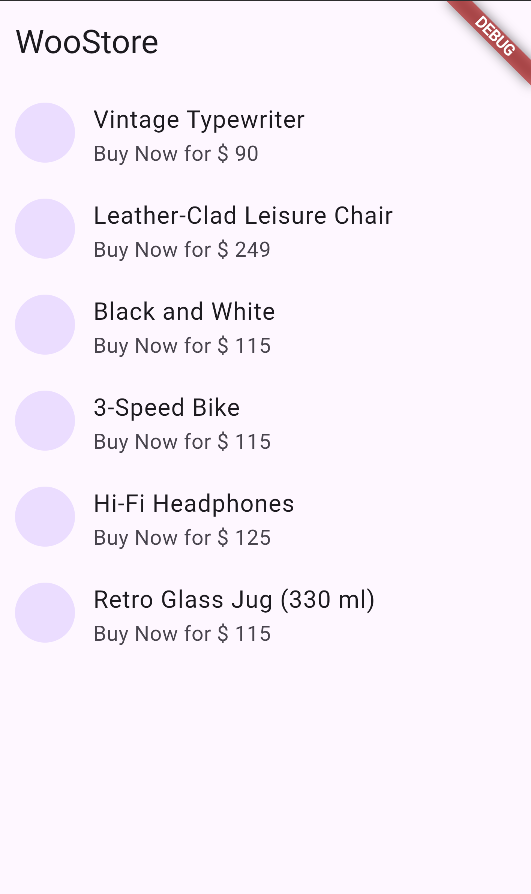
The end result of your flutter application will be this view displaying the products from your woocommerce store.

You have successfully configured your store with your Flutter application. You can add more features like search products, place orders or create customers, etc. You can use WooCommerce as a backend of your eCommerce and integrate it with your mobile application.


